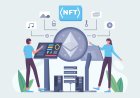


What’s the Process to Launch Your NFT Project?
Learn the step-by-step process to successfully launch your NFT project, from concept to marketing and community building.
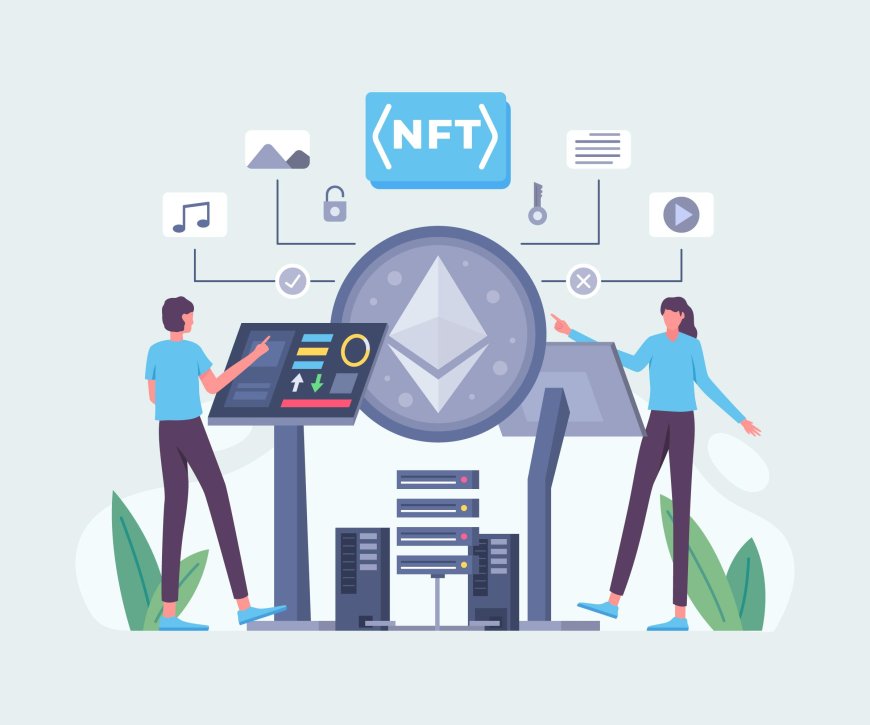
Non-fungible tokens (NFTs) have changed the way creators, artists, and entrepreneurs present digital assets to the world. If you want to launch your own NFT project, there are key steps you need to follow to make it successful. This blog breaks down the entire process from concept to launch so you can confidently bring your NFT idea to life.
What is NFT Development?
NFT development involves creating digital assets that are unique and stored on a blockchain. Unlike cryptocurrencies such as Bitcoin or Ethereum, which are fungible and interchangeable, NFTs represent one-of-a-kind items or collectibles. An experienced nft development company handles everything from designing the digital asset and coding smart contracts to deploying them on the blockchain and listing them for sale. This process turns your creative work into verifiable digital ownership that buyers can purchase, hold, or trade.
NFTs have uses beyond art, including gaming items, music rights, virtual real estate, and more. Developing an NFT project requires a mix of creativity, blockchain knowledge, and marketing strategies to reach the right audience.
These Are Key Steps to Launch Your NFT Project
Launching an NFT project requires several important phases. Heres a quick overview before diving deeper into each stage:
Step 1: Plan Your NFT Project
Before creating any NFTs, define your project's vision and goals. Decide what kind of digital assets you want to offer art, music, collectibles, or something else. Clarify your target audience and the value your NFTs will bring them. Planning helps you avoid common pitfalls and sets a strong foundation for your project.
Define the Concept and Theme
The concept is the heart of your NFT collection. Choose a unique theme or story that will connect with potential buyers. This can range from digital artwork featuring a specific style to interactive collectibles with special utilities. Make sure your concept stands out in the crowded NFT market.
Choose the Blockchain Network
Selecting the right blockchain is crucial. Ethereum remains the most popular choice because of its large ecosystem and NFT support. However, other blockchains like Solana, Polygon, and Binance Smart Chain offer lower fees and faster transactions. Research the pros and cons of each to find the best fit for your project.
Step 2: Create Your NFT Assets
Once the plan is clear, start creating the digital files that will become your NFTs. These files can be images, audio tracks, videos, or even 3D models. The quality and uniqueness of your assets directly affect how well your NFT project will perform.
Produce High-Quality Digital Files
Focus on producing high-resolution, well-crafted digital files. If you are an artist, this means completing your artworks with attention to detail. If you hire creators or collaborate, ensure the content meets your standards and aligns with your concept.
Prepare Metadata and Attributes
Metadata includes information like the NFT's title, description, creator details, and traits. Attributes or properties make NFTs more interesting by adding rarity elements (for example, color variations or special skills in collectible games). Properly structured metadata will help your NFTs gain more attention on marketplaces.
Step 3: Mint Your NFTs
Minting means publishing your NFTs on the blockchain, turning your digital files into unique tokens. This step requires technical tools and involves some costs, known as gas fees, depending on the blockchain you use.
Select an NFT Marketplace or Minting Platform
Choose a platform that supports your chosen blockchain and offers user-friendly minting options. Popular platforms include OpenSea (Ethereum/Polygon), Rarible, and Solanart (for Solana). Some platforms allow batch minting for large collections, which saves time.
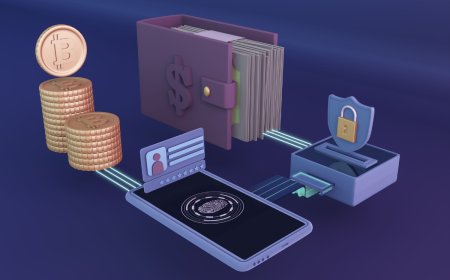
Connect Your Wallet and Upload Files
You need a cryptocurrency wallet to interact with the blockchain developer. MetaMask is a common choice for Ethereum-based projects. Connect your wallet to the platform, upload your digital files, and fill in the metadata fields. Review everything carefully before confirming.
Pay Gas Fees and Confirm Minting
Minting requires transaction fees. On Ethereum, gas fees fluctuate based on network demand. Prepare to pay the fee, then confirm the transaction. Once the blockchain verifies it, your NFTs will appear in your wallet and become available for sale.
Step 4: Set Up Your NFT Sale
Decide how you want to sell your NFTs. You can use auctions, fixed-price sales, or reserve prices depending on your strategy and audience. Each method affects how collectors interact with your project.
Choose the Sale Type
- Auction: Buyers bid on your NFTs. This can drive excitement and potentially increase prices.
- Fixed Price: Set a fixed amount per NFT. Buyers purchase immediately if they agree on the price.
- Reserve Price: Set a minimum price for auctions to ensure you dont sell below a threshold.
Create a Marketing Plan
Promoting your NFT project will attract collectors and build hype. Use social media channels like Twitter, Discord, Instagram, and Telegram to engage with communities. Share behind-the-scenes content, teasers, and countdowns to your launch date. Strong marketing increases visibility and trust.
Step 5: Launch and Manage Your NFT Project
The launch day is crucial. Be ready to handle community questions and technical issues. Post regular updates and keep buyers informed about future drops or project expansions.
Monitor Sales and Engagement
Track how your NFTs perform on marketplaces. Notice which assets sell faster and what feedback collectors provide. This data helps you improve future drops or refine your marketing efforts.
Build a Community
Successful NFT projects often rely on loyal communities. Host AMAs (Ask Me Anything), contests, and giveaways. Engage directly with your audience on Discord or Twitter to create a sense of belonging.
Plan for Post-Launch Activities
After the initial sale, maintain momentum. Offer perks like exclusive access to events, future NFT releases, or physical merchandise. Keeping your community engaged adds long-term value to your project.
Final Thoughts
Launching an NFT project requires careful planning, creative effort, and clear execution. From defining your concept and creating digital assets to minting and marketing, each step shapes your project's success. Stay focused, interact with your audience, and keep improving as you move forward. With persistence and passion, your NFT project can carve a place in this exciting digital world.